- Call us: 01444 237070
- Contact Us
- Stores
- Sign In / Register
-
- Back
- Used Cameras
- Used Accessories
- Used Lenses
- Used Video
- Used Film Equipment
- Used Stock Alert
- Used Blank Test
- Sell or Part Exchange
- Used Clearance
- Recently Added Used Equipment
- Park Picks
- All Used Black Friday Deals
- Faulty
- Trade-In
- Blog
- New in
- Call us
- Contact us
- Stores
- Sign in
- Categories
- Tips & Inspiration
- Reviews
- News
- Events
- Features
- Buying Guides
- Competitions
Top 5 Dos and Donts of Photoshop Part 1
Here at Park Cameras we run a variety of inspiring and academic courses as part of our School of Photography. This week we got the chance to speak to one of our Tutors Ola Teper, who runs a Beginners Guide to Photoshop course. We asked her for her top 5 'do's and don'ts' when using Adobe Photoshop.

We asked Ola for her Top 5 Do’s and Don’ts of Photoshop
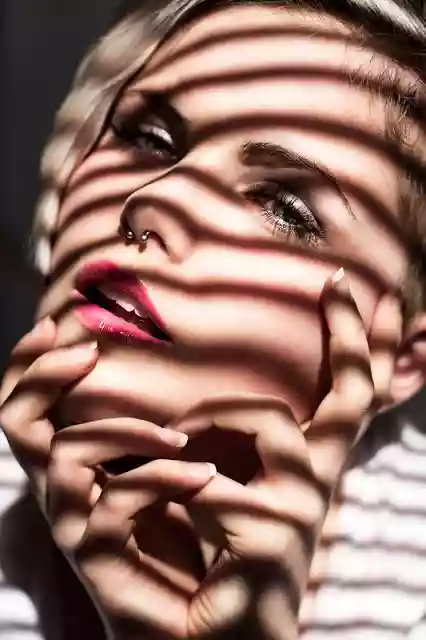
Ola works as a freelance fashion and commercial photographer, whose work has been seen in numerous exhibitions across the country. Ola is soon to be taking part in a project organised by students from the University of Brighton in partnership with local charities, which carry out art workshops for people who experience homelessness, which will be exhibited this autumn.
You can see more of Ola’s work on her website.
Ola’s Top 5 Do’s:
1.Check your working space!
Have you ever wondered why your prints look completely different to the photograph you’ve been working on in Photoshop - whilst hours of retouching and screen calibration don’t seem to fix the problem? The answer is to check the working space that you are working on.
Different devices, such as your camera, your computer screen, your printer and even browser you’re using will use different colour spaces. Typically it’s either AdobeRGB or sRGB. If you’re using a professional camera and you’re printing in a good lab it’s likely that you will use a bigger colour space AdobeRGB and you will want to work on this working space to make sure all colours match.
Always make sure all your devices work in the same colour settings for best results as switching between colour spaces might cause unexpected changes to your image.

2.Use Layers
The best feature in Photoshop is layers and layer masks. They allow you to make adjustments and compositions without working directly on your image. It’s called non-destructible editing, meaning that you can always erase it, change it, blend it and move it without having to go to the history window.
3.Use Camera Raw
To get the best quality out of your images always shoot in RAW format. Newer versions of Photoshop have a Camera Raw plug-in that allows you to work on RAW files before they’re converted in Photoshop. In Camera Raw you can do quick adjustments to the whole image.
Working in Camera Raw is also non-destructive as it interprets editing as a series of metadata that tell the software how to display the image, without affecting the pixels.

4.Save regularly
Computers crash and editing a single image in Photoshop may take hours so it’s a good habit to save your work regularly either by clicking cmd+s or even saving multiple copies if you have space for it. In addition to this, backing up your finished work on a different disk will protect and ensure you don’t lose your work.
5.Getting the most out of Brushes
You can do so much more with Brushes in Photoshop than just applying colour. Photoshop Brushes now have a variety of settings that can be applied to them. You can create custom shapes from other images and customise the way brush behaves as you paint along: they include changing shape, dynamic, size, thickness and even direction.
To get the most out of it consider switching your mouse to a drawing tablet – you can set up your brush to behave differently according to your pen pressure.
View our School of Photography Courses and In-Store Events to see what's coming up!
Part 2 - learn the top 5 'Don'ts' and avoid these common pitfalls
Share this post:
By Park Cameras on 03/09/2018

Trade in your old equipment
Fast and easy trade in service ensures your old gear is collected efficiently and you are paid quickly! It's very simple to trade in your unwanted photography gear. Just head over to our dedicated Sell or Part Exchange page, fill out the details, and we'll get back to you with an offer for your old gear. Take the cash, or put it towards the cost of your new gear. It's up to you! Find out more
sign up to the newsletter
Keep up to date on the latest photography news, events and offers. Sign up now
