- Call us: 01444 237070
- Contact Us
- Stores
- Sign In / Register
-
- Back
- Used Cameras
- Used Accessories
- Used Lenses
- Used Video
- Used Film Equipment
- Used Stock Alert
- Used Blank Test
- Sell or Part Exchange
- Used Clearance
- Recently Added Used Equipment
- Park Picks
- All Used Black Friday Deals
- Faulty
- Trade-In
- Blog
- New in
- Call us
- Contact us
- Stores
- Sign in
- Categories
- Tips & Inspiration
- Reviews
- News
- Events
- Features
- Buying Guides
- Competitions
Shooting video? Why an ND Neutral Density filter is essential
Tips for shooting better video from Park camera s - this week we look at how a simple accessory can make or break a whole film shoot. Why should you use a Neutral Density filter when shooting video?
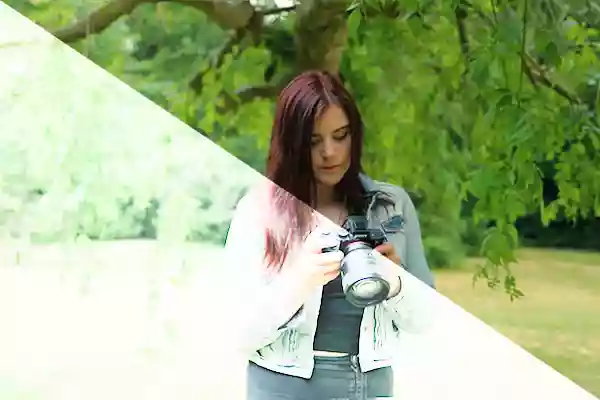
For those of you from a photographic background, you may only think of a Neutral Density (ND) filter as essential for long exposures or landscape photography. But if you shoot video, it can make or break a whole shoot – we explain why any budding filmmaker should always have an ND filter in their kit bag.
ND filters - essential for video, optional for stills.
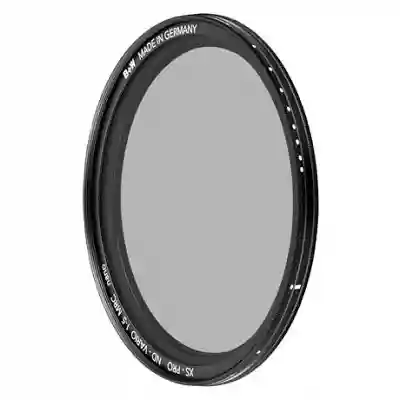
A neutral density filter is handy for stills photography, but it’s not an essential piece of kit. It comes into its own when you want to shoot wide open (aperture) in bright conditions, or classically it's used for long exposure landscapes shots.
In both situations, the filter effectively acts as sunglasses for the lens – reducing unwanted levels of light from hitting the sensor.
So why is this ‘luxury’ item so important for video?
It matters because recording motion (video) does not give you as many options to control your exposure as stills photography does.
And this is mostly because when you shoot video you are limited as to how much you can adjust the shutter speed. A general rule of thumb for video is to shoot at 24/25 frames per second, and to double the frame rate with your shutter speed – so your shutter speed would be 1/50th of a second.
This ratio allows a ‘natural’ amount of motion blur to happen when we record objects moving – a lower ratio and movement looks too blurred, a higher ratio and movement looks jittery. And don’t forget this is important, because we are choosing settings that replicate how the human eye / brain processes movement. If the ratio is not right, your video will not look natural.
When should I use an ND Filter to record video?
Let’s say it’s sunny outside, and you want to shoot at a wide aperture of f/2.8 to bring your subject away from the background. If you were taking a still photo, you would look to shoot on a fast shutter speed – perhaps 1/4000th sec or faster. This reduces the amount of light hitting the sensor.
Simply screw the ND filter on to the front of your lens, and twist it round* until you get the correct ‘stopping down’ effect.
*(if you have a variable filter, which we recommend as they are more flexible and allow greater precision)
Applying an ND filter means that you can still shoot at f/2.8, but there is less light hitting the sensor, meaning:
You can see this in action in the video above, and in the stills below:
- You still have the full effect of f/2.8 isolating your subject from the background
- You cut out the overexposure
- Your video remains at the best ratio to achieve smooth motion, with a cinematic feel
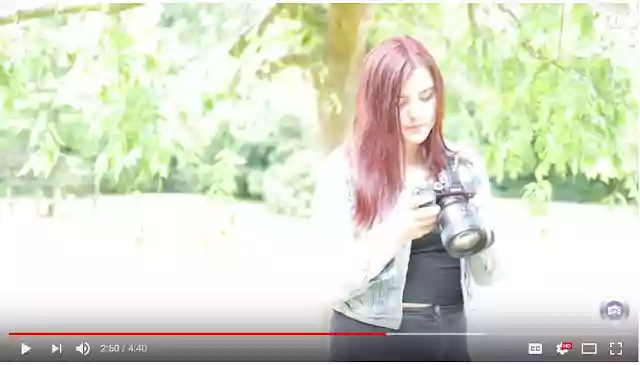
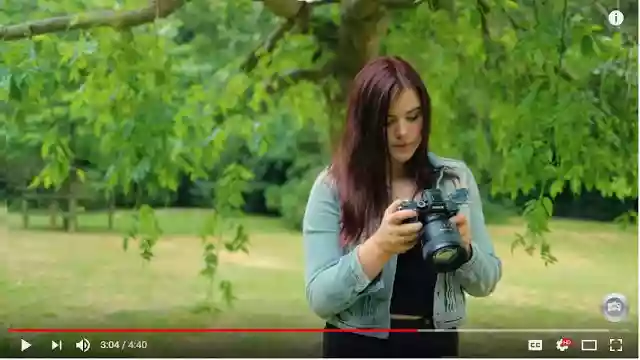
So, a small accessory that can make a massive difference! Our video man Gareth is never out without an ND filter in his kit bag, and he has one for each lens he shoots with.
A small price to pay to get the footage you want, versus abandoning a shoot because the sun came out!
Interested? We have a wide selection of Neutral Density filters available, including variable ND filters as used by Gareth in our video.
If you’re video mad, don’t forget to subscribe to our YouTube channel.
You can also pick up some quick and simple tips and techniques by reading the following blogs:
5-hints-and-tips-to-improve-your-video
5-ways-to-improve-photography
Digital Photography – a guide for beginners
Tips for blog photography
Share this post:
By Park Cameras on 09/07/2018
Trade in your old equipment
Fast and easy trade in service ensures your old gear is collected efficiently and you are paid quickly! It's very simple to trade in your unwanted photography gear. Just head over to our dedicated Sell or Part Exchange page, fill out the details, and we'll get back to you with an offer for your old gear. Take the cash, or put it towards the cost of your new gear. It's up to you! Find out more
sign up to the newsletter
Keep up to date on the latest photography news, events and offers. Sign up now
