- Call us: 01444 237070
- Contact Us
- Stores
- Sign In / Register
-
- Back
- Used Cameras
- Used Accessories
- Used Lenses
- Used Video
- Used Film Equipment
- Used Stock Alert
- Used Blank Test
- Sell or Part Exchange
- Used Clearance
- Recently Added Used Equipment
- Park Picks
- All Used Black Friday Deals
- Faulty
- Trade-In
- Blog
- New in
- Call us
- Contact us
- Stores
- Sign in
- Categories
- Tips & Inspiration
- Reviews
- News
- Events
- Features
- Buying Guides
- Competitions
Photographing LEGO at Home
We’re all photography lovers, and we understand that it requires you to go out of your way to enjoy the perfect shoot. However, sometimes the conditions aren’t on our side, or the inspiration just isn’t there, and we wish we could keep our photography brains active without leaving the house.

Today, we'll be discussing a fun photography project you can take on at home – we’ll be showing you how to get creative with photographing LEGO. For those with children at home, or the highly cultured bunch known as AFOLs (adult fans of LEGO), this can be a great opportunity to take advantage of an easily accessible subject.
Not only will this project help you focus on training your technical photography skills, but should hopefully inspire you to make creative choices with your resources and with your editing, too. Keep reading to get stuck in!
How to PHOTOGRAPH LEGO at Home | Tutorial Tuesday Video
On Tutorial Tuesday, Gareth takes on this project, sharing his own experiences and practical tips along the way.
What will you need?
One of the main appeals of photographing LEGO is how little it relies on setup. Most areas of photography require some serious application – here, it’s much different. All you’ll need is to have a LEGO set or some minifigures lying around (which an awful lot of us do!), a camera with a standard lens and a few optional additions, like some LED lights to incorporate.
For this project, a standard zoom kit lens will be perfect. While a prime lens with a much wider aperture (or even a higher-end f/2.8 lens) will do brilliantly, there’s very little need to stop down too far. When shooting LEGO, you’re emphasising pretty small subjects (usually a 4cm minifigure), which requires you to get quite close to your subject, enabling a shallow depth of field at higher f-stops, if that’s the look you’re going for.
However, you’re likely either emphasising LEGO in an unusual context or simply capturing your LEGO subjects to edit further. For this, you won’t need a shallow depth of field at all, so if your maximum aperture isn’t particularly wide, don’t fret.
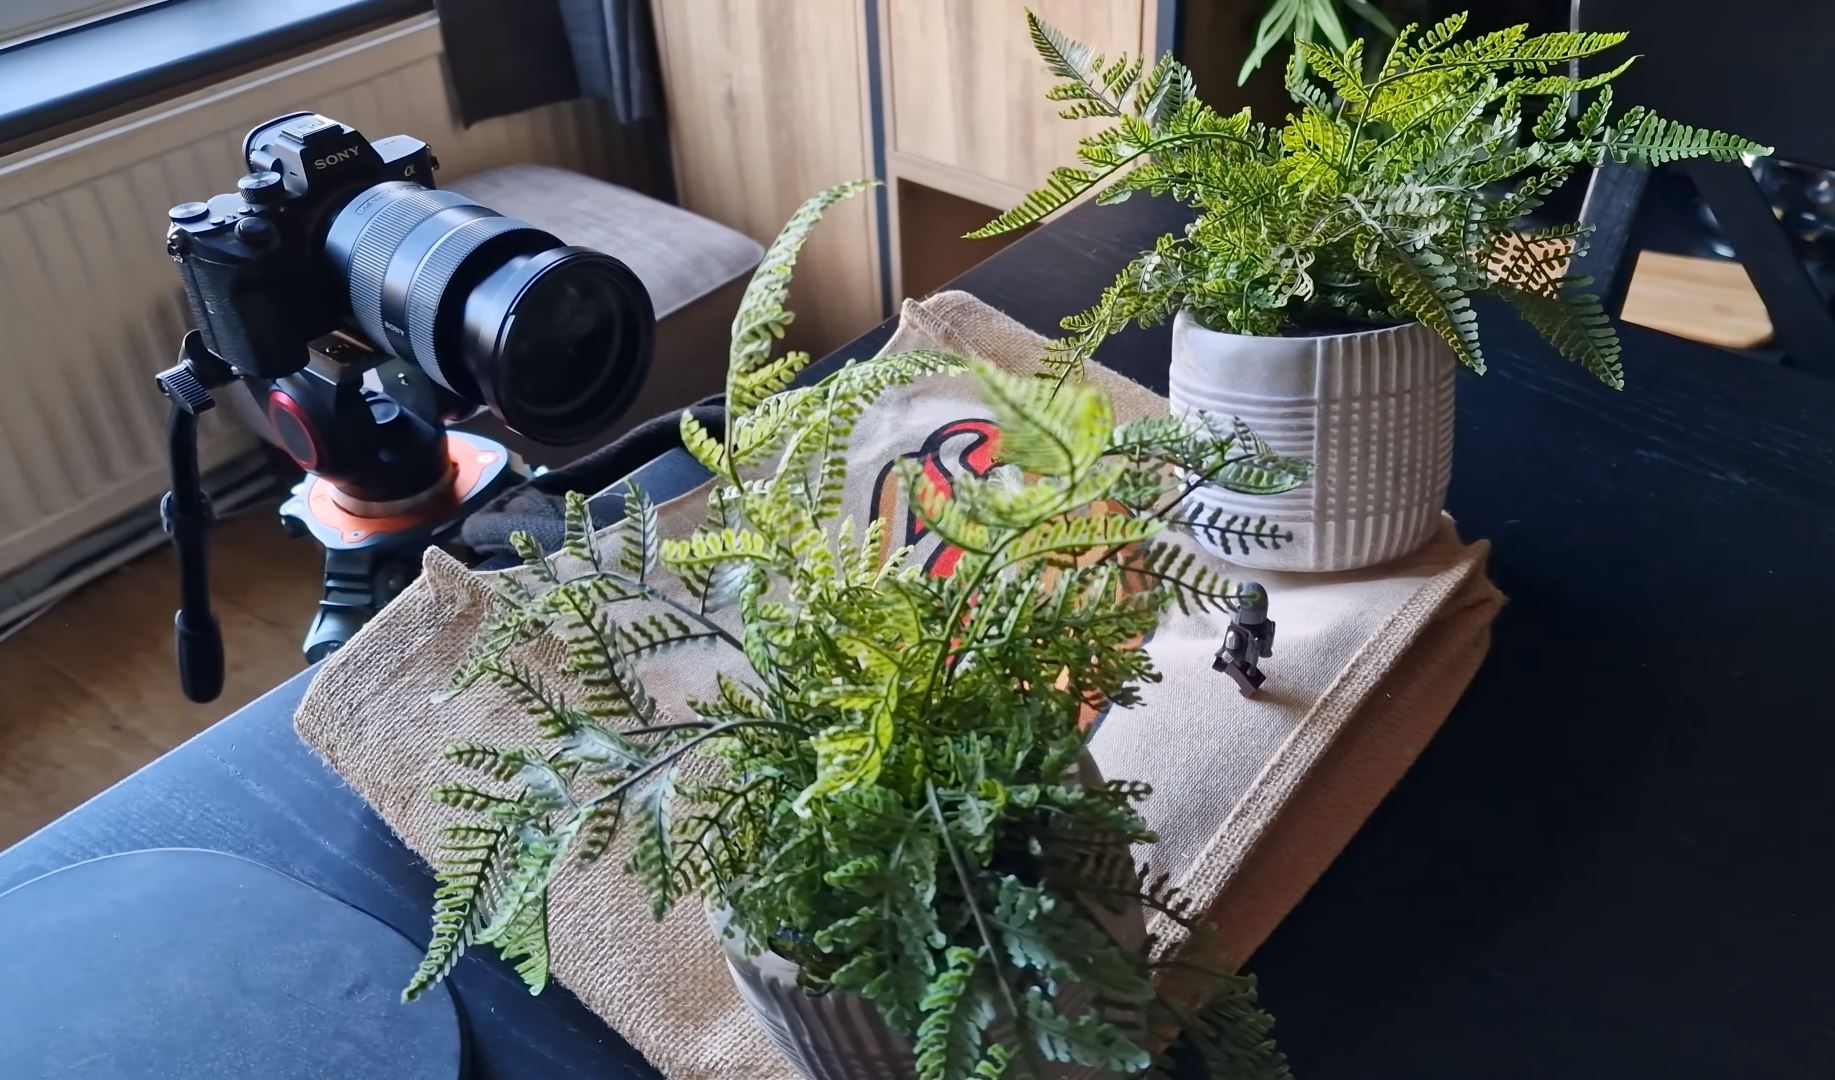
The studio equipment familiar to portrait and product photographers could become useful here. Things like continuous lighting, props or studio backdrops could all come in handy, but if you don’t have any of these, then don’t worry. There’s an awful lot you can do with natural light and photographic skill!
It’s worth making sure you’ve got a strong editing suite that you’re comfortable with, as this is a brilliant way to demonstrate your creative post-production skills. You can perfect the technicals in software like Lightroom Classic or Capture One, and then go all out in Photoshop – it’s up to you.
Types of shoots
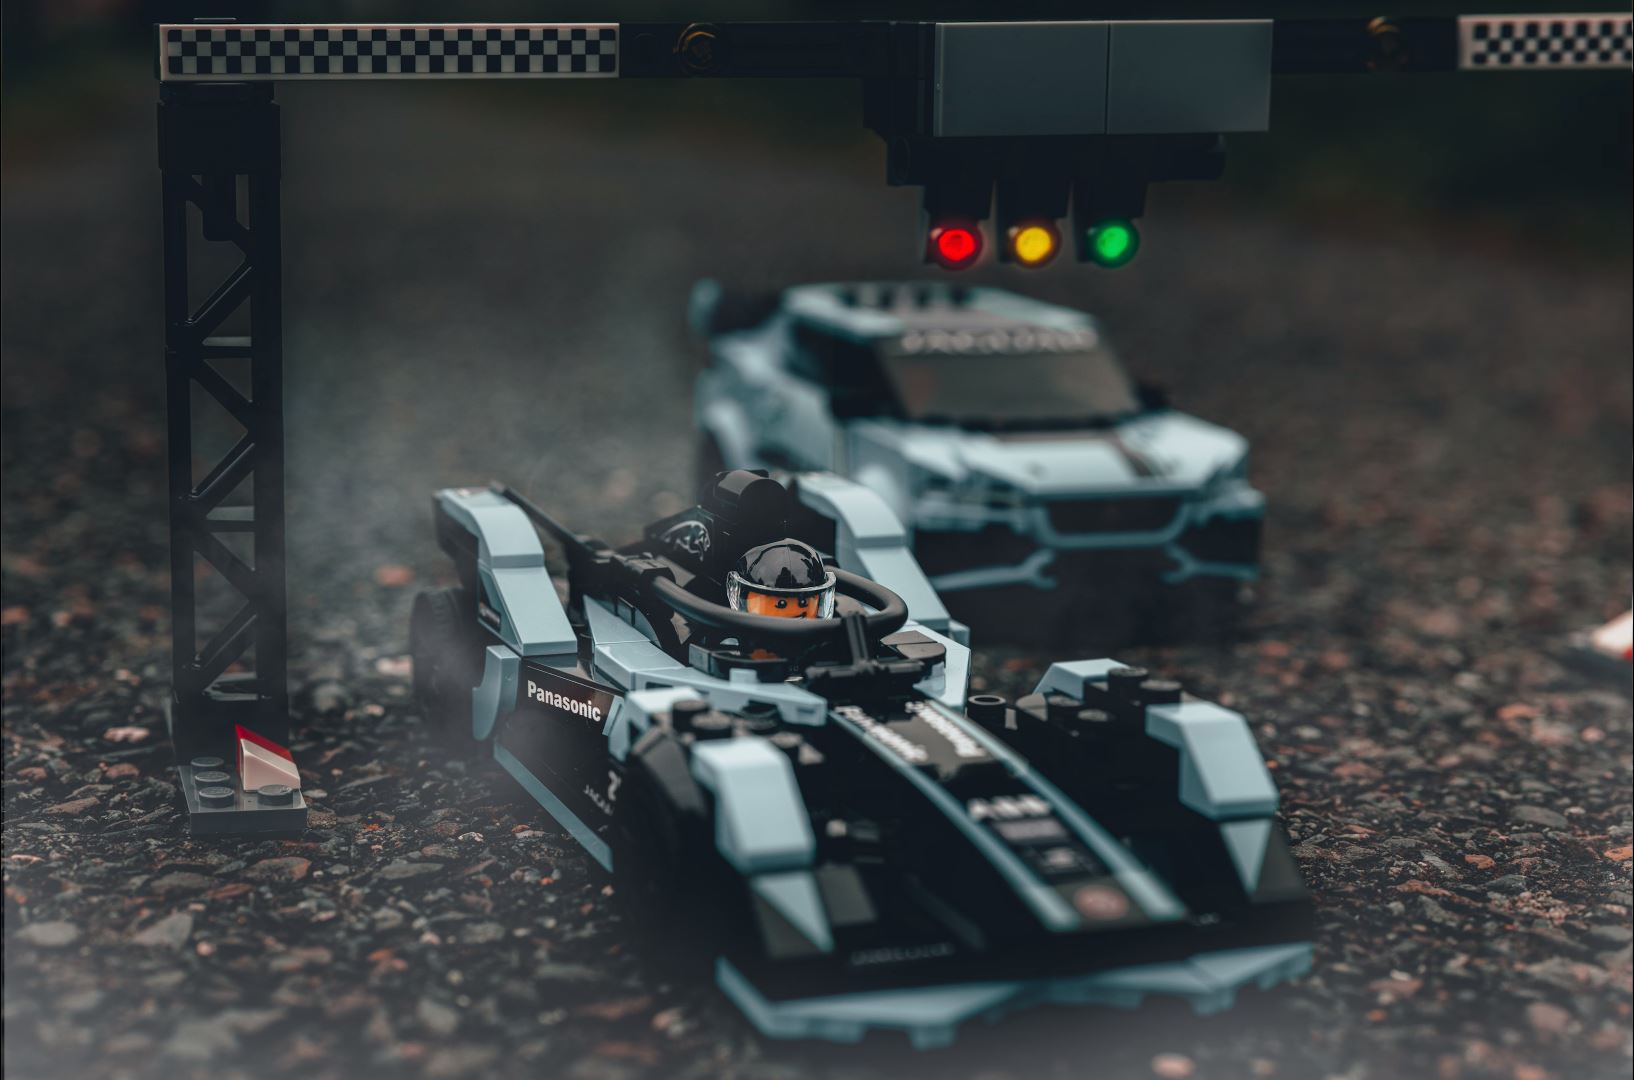
If you’re not as confident with your editing, you can get started with some interesting contextual shots. For LEGO mini-figures, being among a human environment paints an engaging picture in itself, and imaginative placement can often be used as a vessel for some humorous storytelling. This does require a little bit of trying things out, and a few visual tricks (a well-placed blob of blue tack goes a long way!).
Getting your camera close inside a set can help bring LEGO to life, too. Experimenting with perspective enables you to create larger-than-life scenes. Going further, you can remove and replace any realistic backgrounds or surfaces through editing, completely immersing your shot in the set.
However, with clever use of lighting, you can take simple images of your LEGO sets and minifigures and transform the scene around them using Photoshop. Go in with a vision of the shot you want to create and simulate the scene using the lighting you’d expect. This is quite a stretch of the imagination, but when you can’t be out on a shoot, this is exactly what you want!
LEGO lighting tips
Shoots like these can be a useful way to practice harnessing natural light. It can be a brilliant tool in all aspects of your photography if you learn how to control it.
The perfect lighting conditions for indoor shoots are, surprisingly, lightly cloudy weather. While you’ll get stronger light on a sunny day, clouds obscuring the light diffuse it and provide much softer shadows, virtually behaving like a natural softbox.
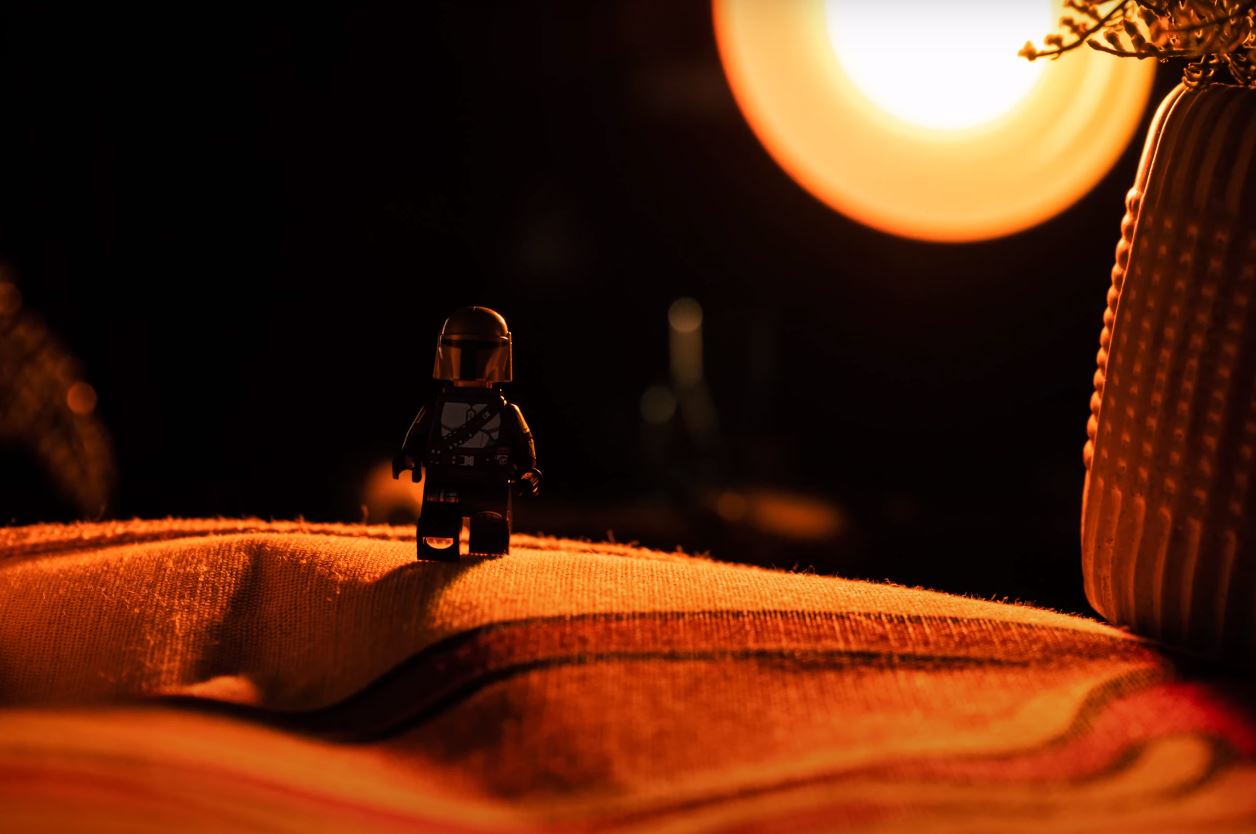
For more creative looks, you could see success using continuous lighting. When creating more contextual photos, it helps to play around with a range of different lighting configurations to find out what has the most impact on your scene. Even in heavily edited photos, you can add effects like rim lighting and even simulate the light and reflection of objects overlaid into your photo with the use of RGB lights.
Creative Editing with LEGO
When editing your LEGO photography in Photoshop, there are no limits to the kinds of scenes you’ll be able to create with some technical know-how. While it’s a skill in itself to be able to produce engaging LEGO photos without creative edits, using post-production to tell a completely different story is one of the best ways to exercise your imagination.
By getting the necessary photos of your LEGO subjects, you can insert them into any scene of your choosing, whether that be sci-fi, fantasy or otherwise. You’ll need to consider how the light falls on your subject in both the ‘scene’ and the real environment to ensure a decent degree of realism – you can do this with a combination of natural and continuous artificial light as mentioned earlier.
Once you have your desired photos, insert them into Photoshop and do everything you can to ensure they fit in your scene! Go wild with visual effects, overlays and more. We’ve listed some tips to add to your methodology.
- Mask with overexposed images: if your subject is overexposed in your scene, Photoshop and other editing software will isolate and mask it much more effectively.
- Carry masks over: in Photoshop, you can easily clone the mask from your overexposed photo to one where the detail in your subject is preserved. This makes jobs like removing the background and limiting edits to your subject’s area much easier.
- Use overlay photos: this is an essential part of the creative editing process. By using overlays, you can transform your scene completely. Both stock libraries (i.e. Adobe Stock) and royalty-free options like Unsplash offer countless overlays, enabling you to add both elements and effects to your scene.
- Extend shadows and highlights: to make your LEGO subject blend in with the scene you’ve created, make sure to use Photoshop tools to brush in areas of shadows and highlights. This will result in an incredibly professional shot.
- Make the most of your editor: modern editors have an abundance of tools available for creative editing, from simple ones like Sky Replacement, Blend If and Motion Blur, to newer ground-breaking tools like Generative Fill.
- Play with profiles: once your creative edit is complete, you can give it the finishing touch of a colour profile. Why this may not be for everyone (especially after having already crafted your scene), browsing through profiles can often ignite a new perspective on your image and give it a gorgeous appearance.
Summary
We hope this article has inspired you to get your old LEGO out and experiment with your photography.
Park Cameras is run by photographers for photographers – we’re a community deeply invested in the fun that photography brings. Discover our range of digital cameras, lenses, and much more today, and explore our exclusive range of offers, as we’re the one place for everything you need to take the best photos, whatever the subject!
Share this post:
By Thom Pyle on 06/08/2024

Trade in your old equipment
Fast and easy trade in service ensures your old gear is collected efficiently and you are paid quickly! It's very simple to trade in your unwanted photography gear. Just head over to our dedicated Sell or Part Exchange page, fill out the details, and we'll get back to you with an offer for your old gear. Take the cash, or put it towards the cost of your new gear. It's up to you! Find out more
sign up to the newsletter
Keep up to date on the latest photography news, events and offers. Sign up now

